Friday, January 31, 2014

RRR 4-Year Blogoversary Giveaway

This post will remain on top until 2/1/14.  Please scroll down for new daily posts.

Be sure to enter to win one of the great prizes we are offering to celebrate 4 years of blogging on the Really Reasonable Ribbon's Ramblings Blog. 
 
For our giveaway post, please click HERE
(or scroll down to our 1-11-14 post)

Customized Bamboo Cord Valentine's Day Card


Happy Friday! Nicole here and today I have a fun card using custom colored Bamboo Cords. Bonnie carries all sorts of hemp cords over at the RRR online store and I picked few of them this month. Among those I ordered the Bamboo Cord Multi-weight Set. You have 4 different weights that fit all of your crafting needs in this assortment and it comes in white. 


So I thought, why not make it more fun? So here I am using some of the Distress Paints to create colored bamboo cord to fit the card them for today. I am using Victorian Velvet, Picked Raspberry, Fired Brick, and Seedless Preserves.


Steps are quite easy. All you do is paint on the cords to die them as your liking. I use 2 cords for each color so I would have plenty to cover up my front layer.


To dress up the card, I went from light to dark, starting from the top. I stamped a sentiment on a vellum cardstock and adhered it onto the space I left between the darker colored cords. Added couple of mini sequins, just for fun!

Thanks for checking out today's project- Hope you have an awesome weekend!

Thursday, January 30, 2014

Shower the People You Love

RRR January 10 04

Shower the People You Love Valentine for RRR

Greetings, Ribbon Lovers! Are you ready for Valentine's Day? Today, I'm sharing a card made with scrumptious Valentine's ribbon from Really Reasonable Ribbon and one of my favorite images from Graphic 45.

RRR January 10 06

This 6 inch square card is lavishly adorned with themed ribbons from the January Ribbon Club Assortment. After creating a base card from hot pink cardstock, I added a slightly smaller layer of pink polka dot paper to compliment the Hot Pink Swiss Dot Satin Ribbon. After cutting a fishtail banner on one end, I used Scor-Tape to secure it to the base of the card. This was topped with a length of Sally Crochet Lace.

RRR January 10 05

I layered more of this pretty lace with some pretty pink heart ribbon on the left hand side of the card. I then tied a single loop bow and secured it with hot glue.

RRR January 10 03

I added lots of little pink banners to the right hand side of the image. The raining hearts were touched with a bit of Diamond Stickles, and the top of the umbrella was treated to a coat of Glossy Accents to give it that "wet" look.

RRR January 10 07

The inside of the card is pretty basic...just a simple sentiment and a tiny postage stamp. Lots of room to write a sweet love note if you are of a mind to!

RRR January 10 02

I had to create a special envelope for this card because I didn't have any 6" square envelopes on hand. I kept with the polka dot theme I had established on the card.

RRR January 10 01

So, how do you plan to shower the people you love on Valentine's Day? My mom always used to make a tasty treat for us kids. Dad always brought home a box of chocolates. My sister and I used to make construction paper Valentines for all our family and friends. However you choose to celebrate it, Valentine's Day is pretty wonderful! Thanks for stopping by today!

Wishing you love!

Cheerio,

kathy

Wednesday, January 29, 2014

Purple-eee Pink Birthday Wishes!!

Happy Birthday Terry!!  

This post is a day late for the birthday girl, but as per my New Year's resolution, the card was delivered ON TIME!! 
 One down for this year and oodles to go........ 
Well, I had to at least get the first one delivered on time, right??


My focal point on this is my pretty layered bow created with Vivid Pink Seam Binding and my Bow-it-All Tool from Really Reasonable Ribbon.

If you missed the video tutorial on how to create a double tail layered loopy bow, you can see it HERE.

And here is a look at the inside of the card.  I layered my sentiment on some die cut papers with a strip of Seam Binding running through the middle.  
Simple and elegant.

Thanks so much for stopping by today.

~ Bonnie ~

Supplies
Stamps:  JustRite Stampers Grand Birthday Sentiments
Ink:  Memento Tuxedo Black
Design Paper:  DCWV
Spellbinders/JustRite Stampers Dies:  Vintage Labels 3 & 5
Scor-Tape

Tuesday, January 28, 2014

Striped Grosgrain and a Video Tutorial By Jenn Cochran

Good morning.  Jenn here with a fun Valentine's Day themed card.  The Striped Grosgrain Red Ribbon is only one of many from RRR's wide selection of grosgrain ribbon.  I love it because the stripe goes completely through the ribbon and can be seen on both sides.  This makes the Striped Grosgrain Red Ribbon super easy to tie.  I used the Bow It All to tie my loopy bow for my Valentine's Day card.  I added Wild Orchid Open Roses in Black to the center of my grosgrain bow.


I also have a video showing how to tie a loopy bow with baker's twine.  I use my hand to wrap the twine. 


Thanks so much for stopping by!


Monday, January 27, 2014

Shabby Vintage Chic Valentine Heart Banner Tutorial

Hello Friends!! Heather here and today I am going to share with you a soft and sweet Vintage inspired Valentine's Day Heart Banner.
Here are the wonderful ribbons, trims and flowers that I used from Really Reasonable Ribbon in today's project.
15mm Deep Ivory Mulberry Roses, ivory pom pom trim, Two Tone Pink Textured Ribbon,  Two Tone Light Blue Textured Ribbon, Cotton Candy Baker's Twine, Teal Baker's Twine, Blueberry Pie Buttons, Havana Brown Seam binding and Buttons.
I used my new Bow it All Tool to create all my fabby bows.
A couple Close ups
Another one
Last One
Here is my tutorial.

I used my Valentine's Day Post Card Sheets.
Vintage Shabby Chic Valentine Romantic Post Card Focals Digital Collage sheet Printable
The Basic Cream heart Digital collage sheet,
Vintage Shabby Chic cream Large plain heart BasesTags  Digital Collage sheet Printable
and my Curvy Vintage banners.
Romantic Victorian Vintage Banners Bases Digital Collage sheet Printable
Thank you so much for visiting us at Really Reasonable Ribbon today!!
I hope that you have been inspired to pull out some ribbons and trims and have some fun creating!
Hugs!!
Heather

Sunday, January 26, 2014

Sweet Lil' Teacups

Hello everyone, Happy Sunday to all!
 Cheryl  here today to share a card I made using Really Reasonable Ribbon. On my card today I chose to use the beautiful Pink Gingham Ribbon that Bonnie carries in the store. I LOVE this ribbon, and Bonnie does have several colors to choose from.


Next I used some random dp that was in a drawer. Not sure what company, or what name. But I love the prints on both. My teacups are from The Scrapping Cottage and they are absolutely darling.  They are called "Teacup Trio". I also made them into a border.  I used Scor-Tape to put some of my layers together.  I am addicted to this stuff!  I LOVE  Scor-Tape, and you can find it here!

The little rose is one my mom gave me, and it accents this card and the ribbon!

Supplies used:
Design Paper
Sewing
Hot Glue
Wire for my bow

I want to thank you for stopping by, and hope you enjoy the rest of your weekend!!
Hugs to all,

Saturday, January 25, 2014

Valentine Banner Tutorial

 
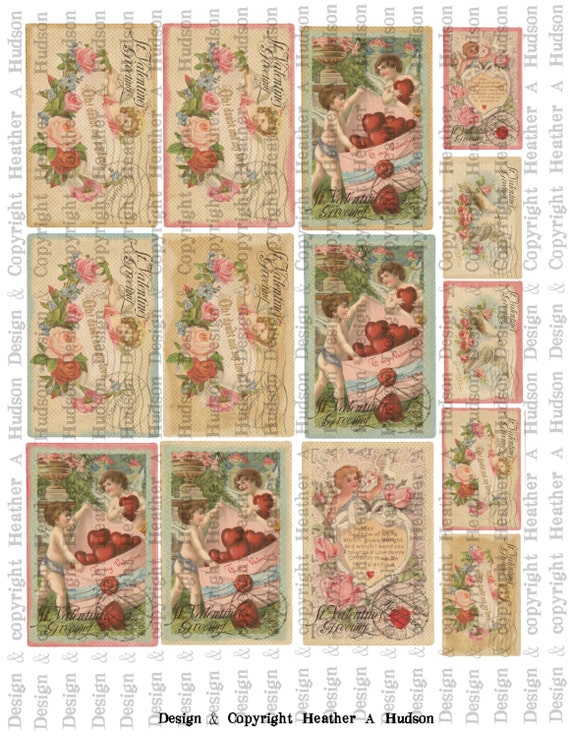
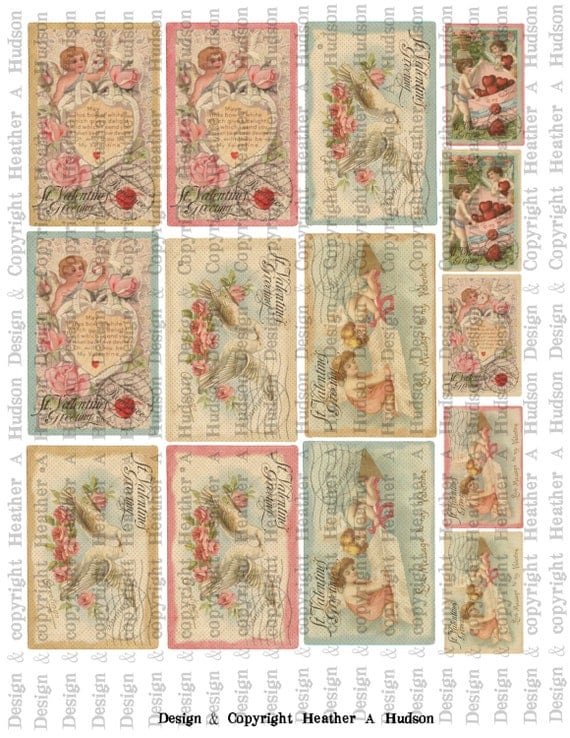
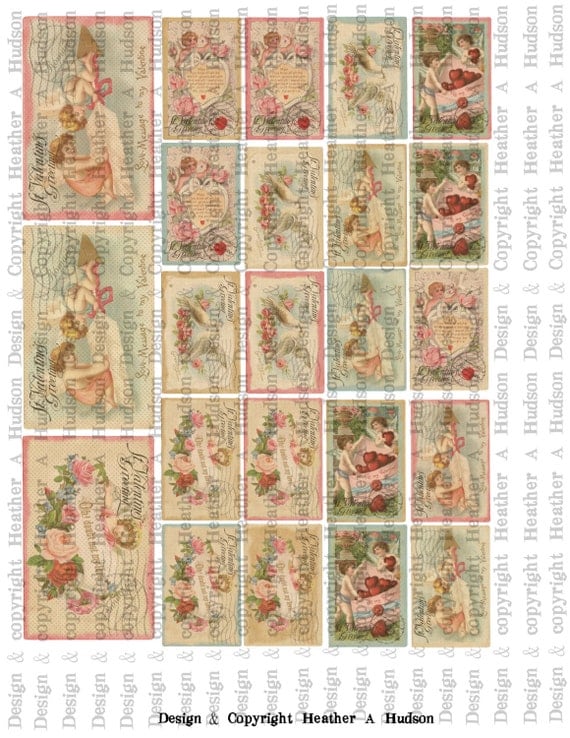
Hi all...it's Ginny here to share a sweet little banner I created with lots of bits and pieces from my Valentine scrap and salvage box.
This banner was so easy to make. The hardest part was getting my Cricut down from the top shelf - lol.
I started with Random Sweetheart Cherries Grosgrain Ribbon.  I used my Scor-Buddy to create these pleated  1 1/2 inch wide strips of book page. Walnut Distress ink gave the outside edge a nice detail. With hot glue I attached it to the flat side of the ribbon.
Here is the other half on the bottom. Notice how it's not even remotely straight???? lol...That's how I roll with the glue gun.
Pretty doily donated by friend Bobbie. 
Add a red cardstock circle to the front.
Now layer on two folded lengths of Red Plaid Ribbon.
This circle is off-white...I inked it also.
I finished off the center banner section with a sweet little glittered heart image with a cherub, ticket, and tiny red clothespin.
This side has a little love letter with clip and a very glittery letter I.
This little heart text block was just a bit too wide...so I threaded it through the U and added another clip.
I think it turned out pretty cute.  Maybe I'll hang it on my Hubbies bathroom mirror for Valentine's day. Or......I can hang it up in the shop as part of the seasonal decor lol.
I hope you all enjoy a happy and productive day and find some time to be creative : ) G

Friday, January 24, 2014

Tilda's Blue and Brown Celebration (and a ribbon flower tutorial)

Good morning, Really Reasonable Ribbon fans!  
Today I have a card to share with you along with a little tutorial.
Originally, I had a birthday card in mind when I made this, but I left the sentiment off because it could also be used to celebrate the birth of a little boy...or any kind of celebration for that matter.  
Anyhow, on the the goods...first I will give you a peek at my completed card, then I will show you how I made that flower out of some gorgeous ribbon.
And a close-up of that flower:
And while I'm at it, how about a shot of that stack of perfectly made (using the Bow-It-All from Zutter) bows:

Now, how did I make that flower?  Let me see if I can explain.  This would definitely be easier in a video tutorial, but I haven't gotten brave enough to try that out yet.
1.  Start out with (5) 3 1/4" to 3 1/2" pieces of ribbon.  It's to make sure that they are all very close to the same size so that when you're finished your flower petals will be all the same size.  Mine are all 3 1/4".

2.  Fold your ribbon, making sure that the ends are pretty evenly spaced on each side.
3.  Pinch the ribbon in that center section that crosses over, then fold the tail that's facing right over top of your index finger.

 4.  Be sure to match up the edges closely to each other.  This will form a better looking point in your finished flower. 

5.  Remove your index finger from the fold, again being careful not to move the edges of the ribbon out of place.  You end up with a pointed arrow, like this:

6.  Sew a running stitch across the bottom.  I like to use 3 full stitches because it gives me that little pop in the center of each petal, which looks the most natural to me.

7.  Continue with all 5 petals.


8.  Cut a small circle out of cardstock and glue your petals down the way you'd like.

That's all there is to it!  Easy peasy!  
Hope you enjoyed this little tutorial and that I was clear enough for you to understand.
Supplies:
Ribbons and Trim:
 Silky Crush Antique Gold Ribbon
Baker's Twine Brown Sugar 
Satin with Grosgrain Edge Blue Topaz 
1.5" Champagne Netting 
1/4" Chevron Striped Twill Light Blue 
 
DP:   Ella Blue from GCD

StampMagnolia Tilda Sparkles